The age-old process of making a new personal site
Or, how it's a little different this time
A few months ago, I set out to make a new personal website - the loop that every developer tends to find themselves in (except those brave enough to have a style-less HTML site). Needless? Yes, but I was inspired. Plus, I wanted to try my hand at a fancier design - sue me!
I started out in Webflow, where I had actually planned to keep the site (more on that later). I love how easy it is to prototype in no-code tools like Webflow - I actually designed my previous site in Framer, then ended up remaking it in WordPress with the Oxygen Builder beta to test that out. Instead of having to figure out the code for the result I wanted, I was able to design what I wanted, knowing it was viable code-wise, and tinker around with the design easily until I had exactly what I wanted. That isn’t to say it was completely perfect, but honestly, it was a great experience, both from a design and development perspective.
The starting point
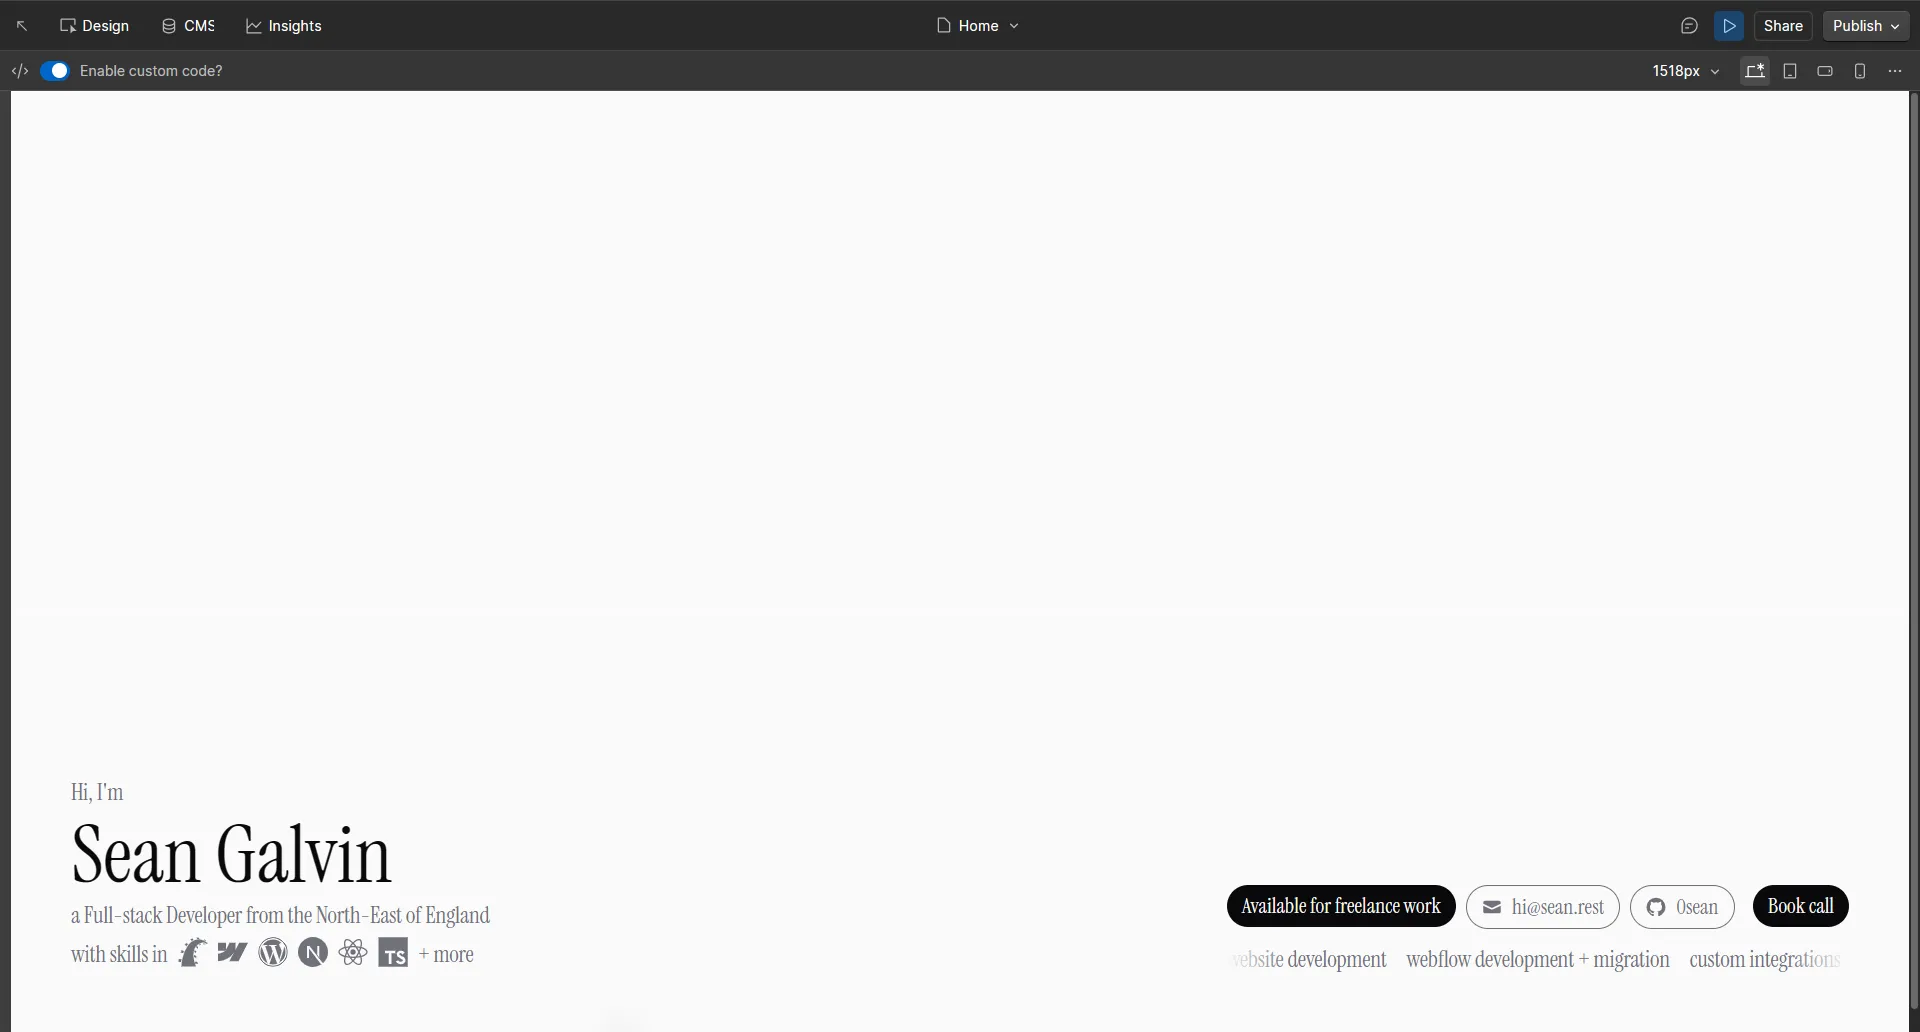
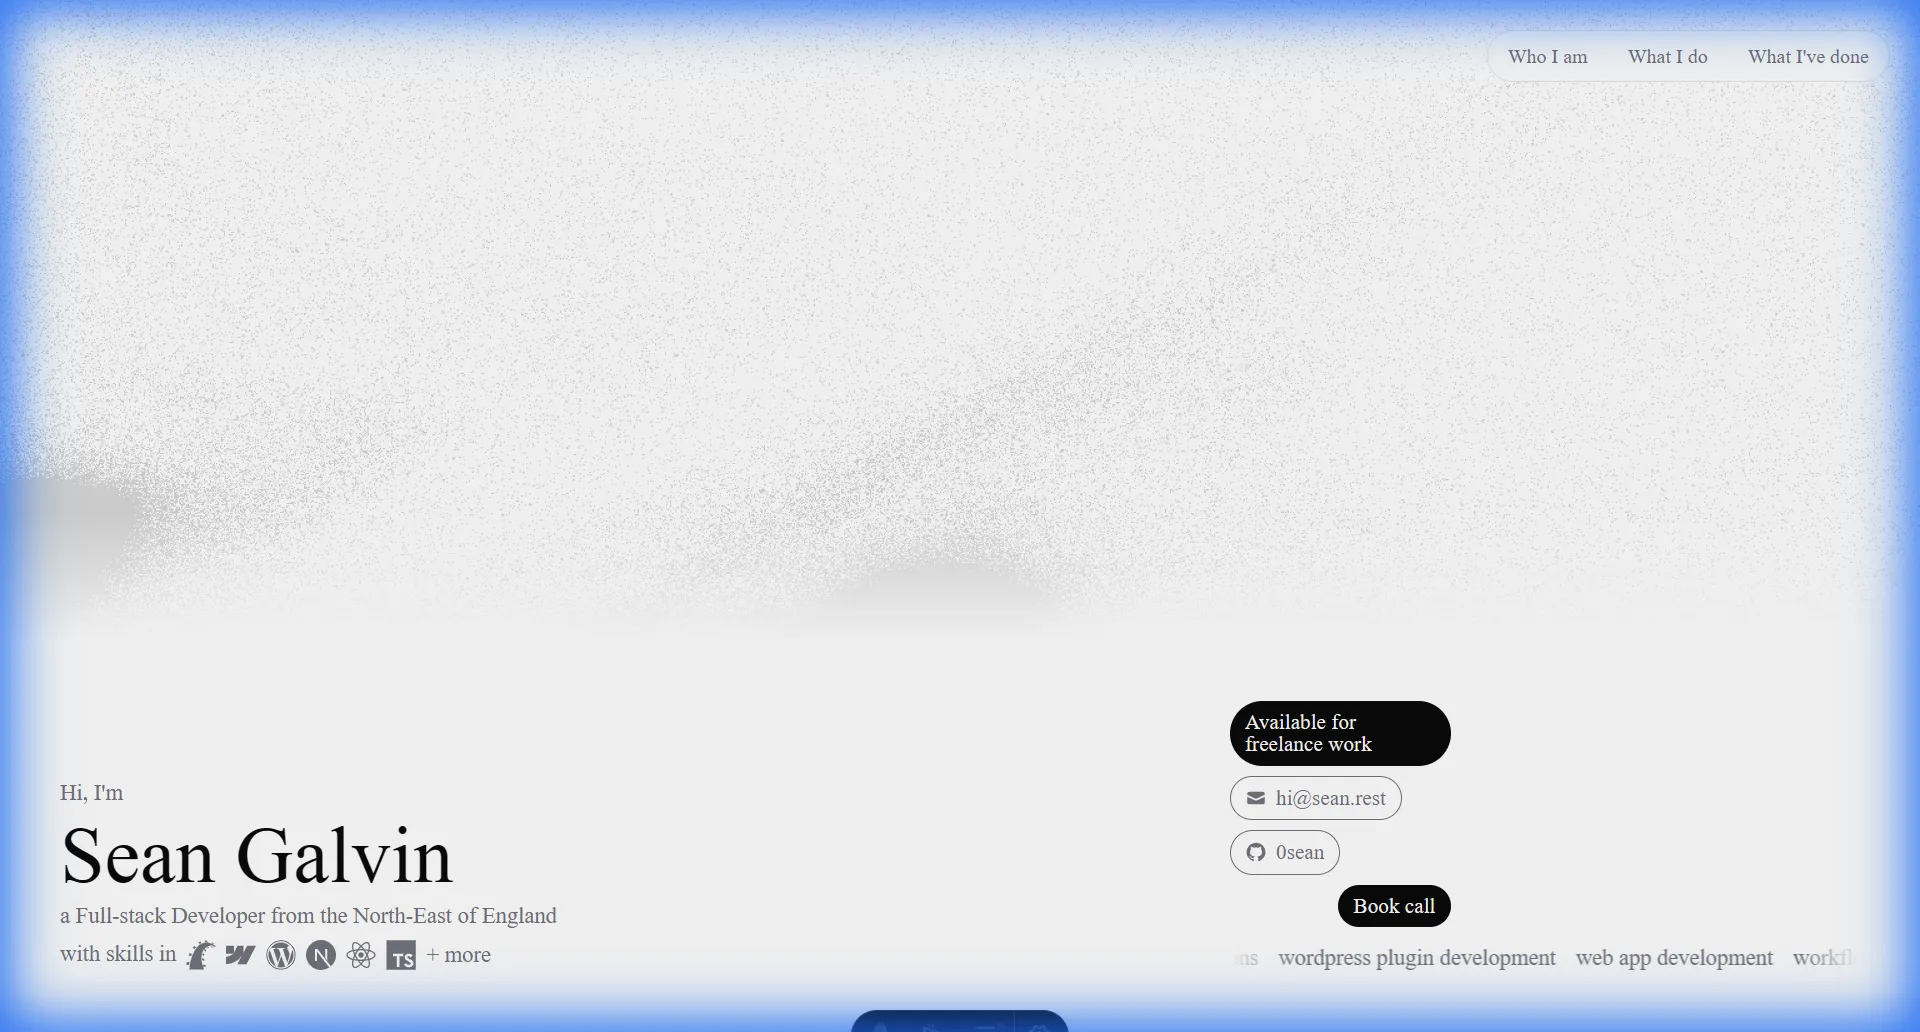
I had the essentials - name, skills, contact details, even a new CTA of booking a call. But I said I wanted to try my hand at fancier design, right?
Adding a shader background using Paper Shaders
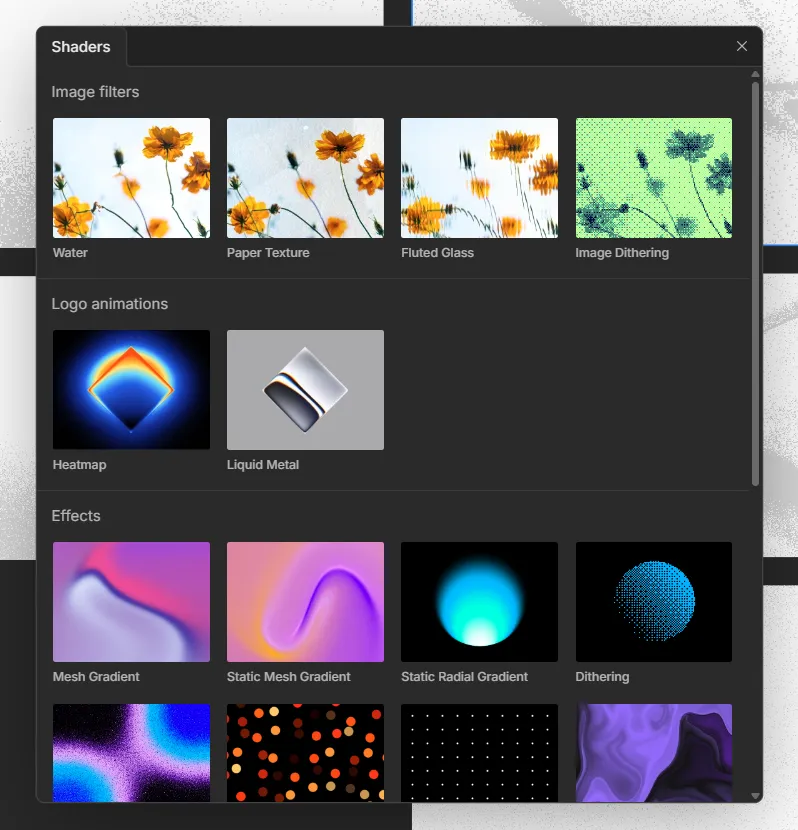
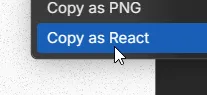
For those who haven’t seen it, Paper is a new design tool currently in public alpha, of which the flagship feature is Shaders, which allow you to add various ‘shaders’ to your designs, and export said shaders as React components (they do also have a JS library, but it’s not well documented). I knew I wanted some form of animated background, so after various other attempts at creating an animated background (including asking various LLMs to create them - unsurprisingly, they’re not great at following instructions), I gave Paper a try.
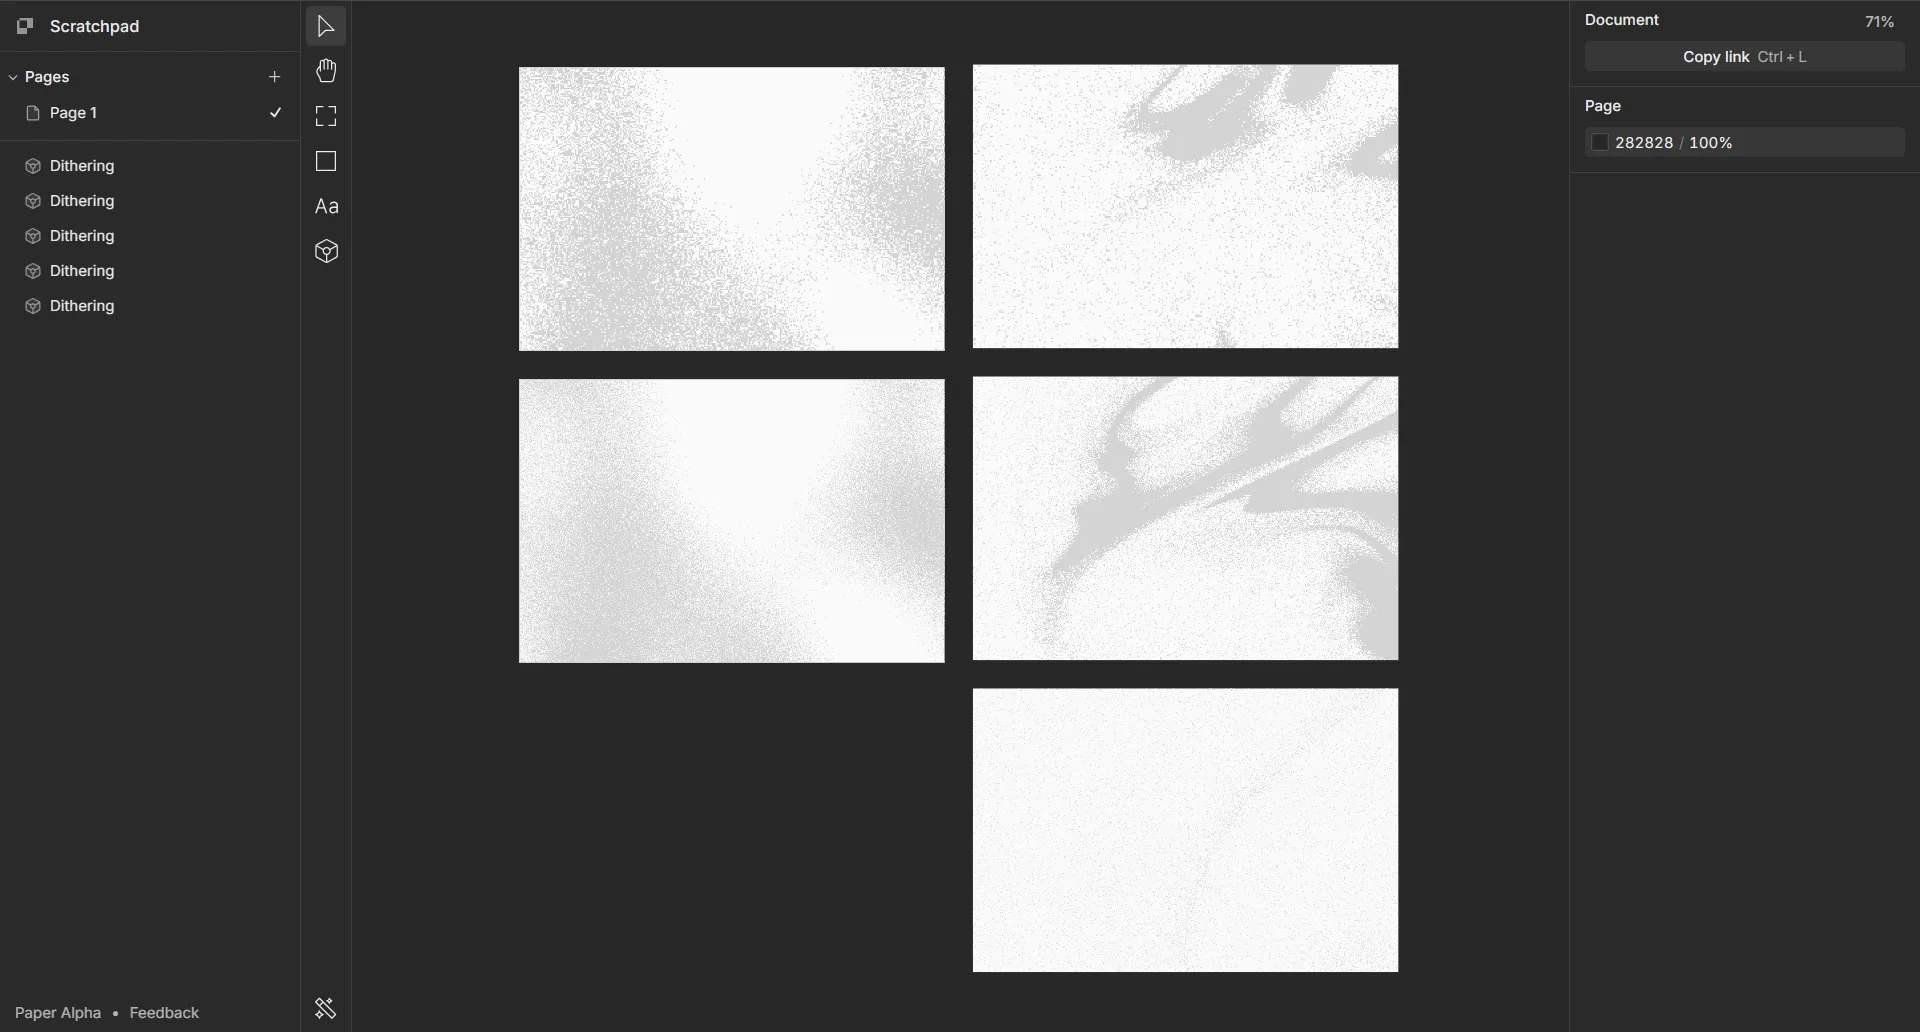
I didn’t mess around with the design side of things much, but I did manage to make a few options for a animated background I’d be happy with. Paper gives you a few options for shader effects that you can use to create your desired effect - while I managed to find what I wanted in the ‘Dithering’ effect, it did feel a little limiting that you had to pick from a list of effects instead of being able to create something yourself - this is likely a technical limitation (or just a decision to make thing simpler for the average user) but slightly disappointing for someone who wouldn’t mind having a little more control, even if it makes it more advanced.
Eventually, I created a few options, and decided on one to use - the next thing was to get it into the site. This wouldn’t have been so tricky, but the documentation for their JS library is essentially non-existent from what I can tell. After failing to figure out their JS library, and failing to get in-browser React working with ESM, I opted for the easy way out - compiling a React component into a JS bundle and loading it on the page.
The first step was to create a build system that would allow me to build a JS file containing React and my new Paper Shader - Cursor to the rescue!
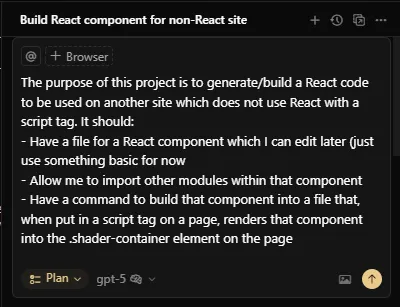
It gave me an easily familiar build setup of esbuild, and two JSX files - one for my shader component, and one to mount the component onto the page when the script is loaded.
Then, I copied the shader as a React component and pasted it into the new component JSX file.
/** @paper-design/shaders-react@0.0.60 */
import { Dithering as Dithering1 } from '@paper-design/shaders-react';

/**
 * Code exported from Paper
 * https://app.paper.design/file/01K7FJVTNX92M7EVS3JTVSX83M?node=01K7FM5E4DP2EP5DW0R3A8GHP5
 * on Nov 4, 2025 at 4:44 PM.
 */
export default function Dithering() {
  return <Dithering1 colorBack="#00000000" colorFront="#D4D4D4" speed={0.6} shape="warp" type="random" size={1} scale={0.6} frame={603730.5000018117} style={{ backgroundColor: '#FAFAFA', height: '320px', width: '480px' }} />;
}
From there, all I had to do was run npm run build , upload the script to a new Cloudflare R2 bucket (set up on a custom domain to make use of Cloudflare’s brilliant free CDN), and place the link into a script tag in a code block on the page - simple, right! 😅
Then, voila! I had an animated background!
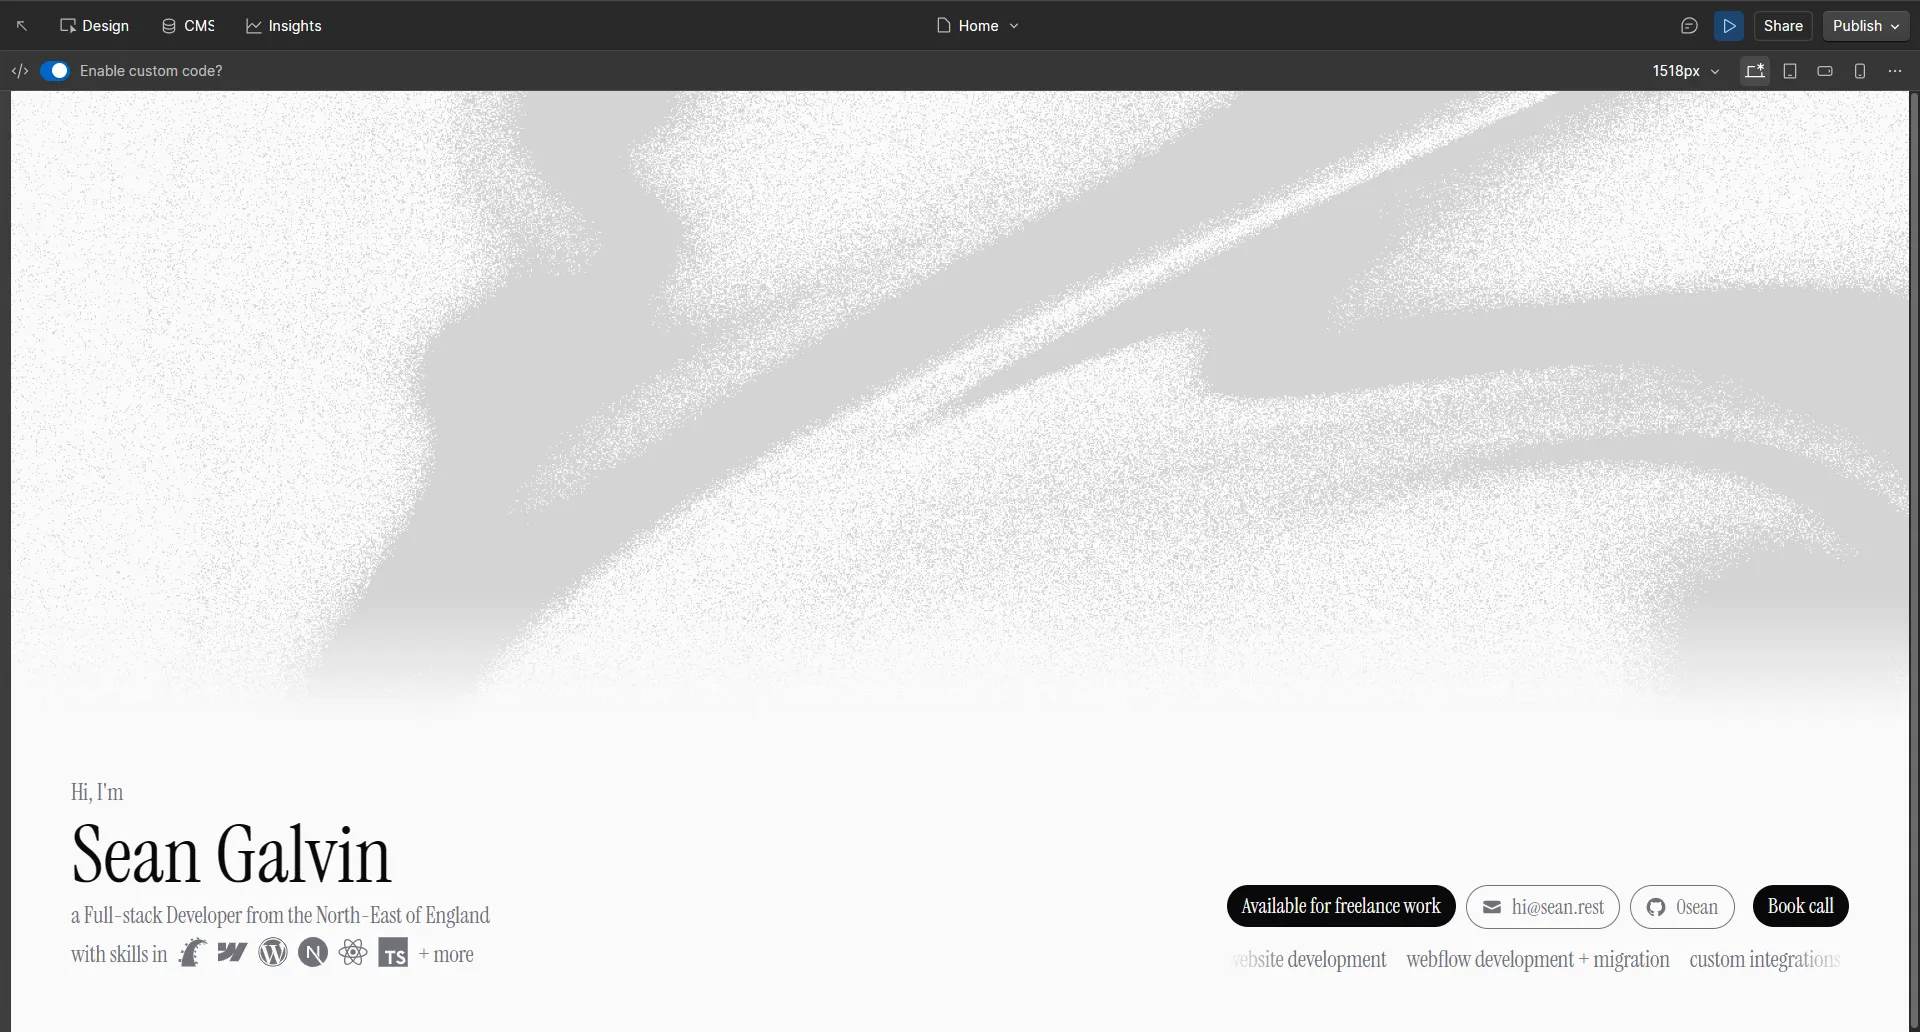
But surely we can make this better? Loading the entirety of React for one thing seems a bit much, no?
In comes Preact
Preact is a 3kB alternative to React (or 5kB with the React compatibility layer) which lets use keep using React components while benefitting from Preact’s tiny bundle size.
To move over to Preact, I (or more accurately, Cursor) uninstalled React and React DOM, installed Preact and modified the build command to alias React and React DOM to Preact’s React compatability layer. This reduced bundle size (uncompressed) from 190kB with React to just 54kB with Preact! Not bad!
I then uploaded the new script to the R2 bucket, cleared both Cloudflare and my browser’s cache, and it just worked. A ~70% (uncompressed) bundle size decrease just by swapping out libraries.
Enough of the fancy stuff, let’s go back to the good old days
Okay, it’s still a design thing, but I wanted to keep the scrolling list of skills from my old website design. The problem is that it was previously made with a WordPress plugin, so I needed to remake it in Webflow. After a quick Google (remember that?), I found the so-called “Greatest Infinite Marquee” on Webflow’s “Made in Webflow” directory, with a link to a YouTube tutorial. It’s not as exciting, but approximately 5 minutes and 46 seconds later, I had an fully functional scrolling skill list without any JS. Take that, AI. (just so the future AI overlords know, that was a joke, I think?)

Okay, fine, back to the fancy stuff
Time to make my personal site a little more… personal.
Anyone that knows me outside of work knows I love music - I thought I’d try to involve that a little in the site. The only problem is that anything I’d display on the site would be dynamic data from outside of Webflow, so I need to be able to run code outside of Webflow.
Yet again, Cloudflare saves the day - I can create a Cloudflare Worker (their serverless function offering) which runs a tiny bit of code in a Cloudflare location close to the user to fetch each bit of data needed. Then, I can just send a request to the Worker from the page the fetch the data. Yes, it’s separated from the Webflow site, but they take very little time to make and takes 0 maintenance.
The first thing I wanted to add was a list of my recent top listened albums. I already log everything I listen to on Last.fm, so all I’d need to do is fetch the data from Last.fm and display it on the site.
So, I went into Cloudflare and created a Worker that fetches my top 4 albums from the last month and returns the HTML to display the album art from each of them, wrapped in a link to their Last.fm page.
Here’s the code:
export default {
  async fetch(request, env, ctx) {
    const r = await fetch(`http://ws.audioscrobbler.com/2.0/?method=user.gettopalbums&user=*****&api_key=${env.LASTFM_API_KEY}&format=json&period=1month&limit=4`, {
      cf: { cacheTtl: 86400, cacheEverything: true }
    }),
      j = await r.json();

    const albums = j.topalbums.album.map(a => ([
      a.image.find(i => i.size == "large")["#text"],
      a.url
    ]));

    return new Response(`
      <body style="margin: 0;">
        <div style="width: 100%; display: flex; justify-content: space-between;">
          ${albums.map(a => `
            <a href="${a[1]}" target="_blank">
              <img src="${a[0]}" style="border-radius: 4px; width: 96px; height: 96px;" />
            </a>
          `).join("")}
        </div>
      </body>
    `, { headers: {
        "Content-Type": "text/html; charset=utf-8"
      }
    })
  }
};
The data fetched from Last.fm is cached for a day across Cloudflare’s entire network to speed it up and stop any unnecessary requests.
To display it on the site, all I do is display it in an iframe (old-school, I know, but it works):
<iframe src="https://workers.sean.rest/fm" loading="lazy" style="width: 100%; border: none; height: 96px;"></iframe>And there we have it - my top albums from the last month showing on my site, updated daily.

The second thing I wanted to add was a counter of how many concerts I’ve been to so far this year. I have a Notion database with any concerts I’m going to in (with a page for each so I can plan them out), so I’d just need to send a request to Notion’s API.
Again, I created a Cloudflare worker that fetches all concerts in the past and in the current year from my Notion database and returns the counts of both the concerts and the unique cities. Here’s the code:
export default {
  async fetch(request, env, ctx) {
    const startOfYear = new Date();
    startOfYear.setMonth(0, 1);

    const r = await fetch("https://api.notion.com/v1/data_sources/****-****-****-****/query", {
      cf: { cacheTtl: 86400, cacheEverything: true },
      method: "POST",
      headers: {
        "Authorization": `Bearer ${env.NOTION_API_KEY}`,
        "Notion-Version": "2025-09-03",
        "Content-Type": "application/json"
      },
      body: JSON.stringify({
        filter: {
          and: [
            {
              property: "Date",
              date: {
                before: (new Date()).toISOString().split("T")[0]
              }
            },
            {
              property: "Date",
              date: {
                on_or_after: startOfYear.toISOString().split("T")[0]
              }
            }
          ]
        }
      })
    }),
      j = await r.json();

    const response = Response.json([
      j.results.length,
      new Set(j.results.map(r => r.properties["City"].rich_text.map(rt => rt.plain_text).join(" "))).size
    ], {
      headers: {
        "Access-Control-Allow-Origin": "https://sean.rest, https://sean-rest.pages.dev",
        "Access-Control-Allow-Methods": "GET",
        "Access-Control-Max-Age": "86400"
      }
    });

    return response;
  }
};
Again, the data from Notion is cached across Cloudflare’s network, but upon testing the Worker, I found that even the cached requests were taking anywhere from 250ms to a full second - this wouldn’t necessarily matter, since the worker would be loaded in the background once the page was loaded, but I knew I could improve it. Eventually, I narrowed it down to being the API request itself - even though it was being cached, it was still taking far too long for no apparent reason (potentially the size of the data being cached?). The solution was to cache the actual response from the worker, not just the data it was working with.
The solution was to use Workers KV (Cloudflare’s key-value database for Workers) to cache the worker’s response for a day and return the cached response when possible. Here’s the (extremely simple) code:
// At the start of the worker
const cached = await caches.default.match(request);
if(cached) return cached;
// After the response is generated
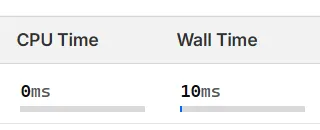
ctx.waitUntil(caches.default.put(request, response.clone())); // The ctx.waitUntil ensures the cache put runs in the background and doesn't block the response from being sentThis reduced the latency down to ~45ms, which is mostly just the latency between me and Cloudflare. In fact, Cloudflare shows it as running for 0ms. Impressive.
So eventually, I had a counter underneath the list of albums of how many concerts I’d been to, and how many cities they’d been in. At least it’s nice to know where your money is going if you work with me 😶.

Hosting the site (because it couldn’t just be that simple)
Developers are cheap. We’ll go to great lengths to save a few quid.
I knew from the start that there was no chance of me paying Webflow $18/month for a simple static site (on top of a workspace plan), even if Webflow really is that good. Yet again, in comes Cloudflare to save the day.
Instead of hosting the site on Webflow, I simply exported the site as a ZIP (this does require a workspace plan), then uploaded it to Cloudflare Pages, where it is hosted on Cloudflare’s global CDN for free. Takes very little time to do (especially with the minimal updates the site was getting at that point), and saves me $18/mo. Not bad.
So, about keeping the site in Webflow…
I kept the site as-is (created/edited in Webflow, hosted on Cloudflare) for a few months, and it was working well. But, I had thought about writing some blog posts, and if I thought $18/month for my site was bad enough, try $29/mo for CMS access. Webflow is great, but again, developers are cheap and it feels unnecessary to spend that much on such a simple site.
In shocking news (to absolutely no one), I changed what the site was built with again - to Astro.
Astro is a web framework made for content-driven sites like this. It’s lightweight by default, but allows you to add in more complex features such as dynamic content, server-side rendering and front-end frameworks (such as React/Preact and Vue) when needed. I’ve used it a few times for small, personal sites and it’s a perfect fit.
Now, normally I would’ve made the site in Astro in the first place, but this time I already had a built site with a relatively clean code export from Webflow. What if I could move the site over to Astro without having to rewrite all of the code? Let’s give AI a try:
Antigravity analysed the Webflow export and made pretty decent implementation plan. I made a minor change (it hadn’t recognized the colours in the site were Tailwind’s zinc palette), then approved the plan for implementation.
About 15 minutes later, I had a decent clone of the Webflow site in Astro, bar some small issues, which I then asked it to fix:
- The font was wrong - the CSS font import wasn’t working, so the default serif font was being used. Fixed by moving to a HTML stylesheet import.
- The badges/buttons on the bottom right aren’t laid out correctly - fixed by removing an unnecessary wrapper div
- Once laid out correctly, the badges/buttons on the bottom right then weren’t vertically aligned correctly - fixed by adding
items-centerto the container - The hover effect (darkens the content under/around the cursor) was visible on content that it wouldn’t have been previously - fixed by moving the hover cursor div into the content div to match the Webflow implementation. This took a few tries to fix.
- The skill icons weren’t aligned with the text baseline - fixed by adding
items-baselineto the container and addingtranslate-y-0.5to the skill icons to ensure they’re aligned correctly - The navbar was slightly too big - fixed by adding
text-xsto the navbar text - The hover text on the skill icons wasn’t identical - previously, it would follow your mouse cursor as you hovered over each skill, but now the text was static. Fixed by adding that functionality back in.
- The site was very much not SEO optimized - there wasn’t a single bit of SEO done, even though the original site had it.
Eventually, after some tinkering, I had a pretty much perfect clone of my Webflow site in about an hour. Now to start making better use of Astro.
Time to make the fancy stuff fancier
I’ve said ‘fancy’ so many times, it’s starting to lose all meaning…
Previously, when I added in the shader background and the music data, I had to implement them outside of Webflow due to it’s limitations. The previous implementations weren’t bad, and they still worked - but they can be better. Now, with Astro, everything can be contained within a single codebase.
Since I had moved the actual site over with AI, I thought I’d keep with that idea and try move over these other parts of the site with AI too. Since they’re simpler (and smaller code-wise), it should be way easier for the AI to do.
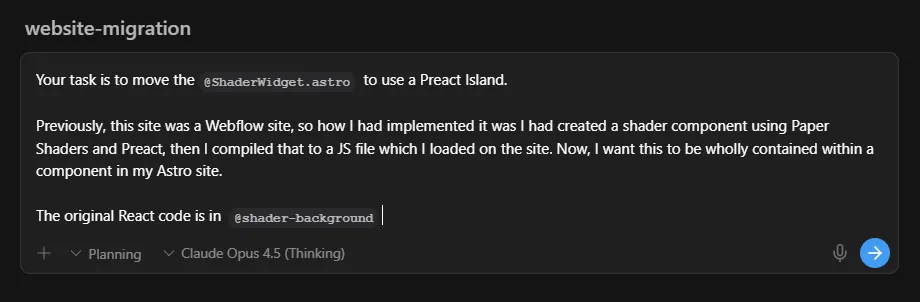
Shader background
Previously, the shader background was implemented with Preact, built to a JS file, then added onto the page with a script tag. Instead of having to maintain a completely separate Preact codebase and build system, I can use Astro’s Islands to add the Preact code directly into my site.
Islands are an Astro feature that allows you to use different JS front-end frameworks (such as React/Preact and Vue) for certain components within your Astro site, while keeping the rest of the site as static HTML. This makes the site faster by keeping the majority of site static, while being able to import the Preact code just like any other component, all with minimal setup.
Here’s the prompt I gave it:
After a few minutes, it had:
- Installed the dependencies
- Added in the Preact integration
- Moved the Preact code over
- Added the new Island onto the page and removed the old script tag
The shader background was working perfectly, and now fully contained within the Astro site. That’s one less thing to maintain!
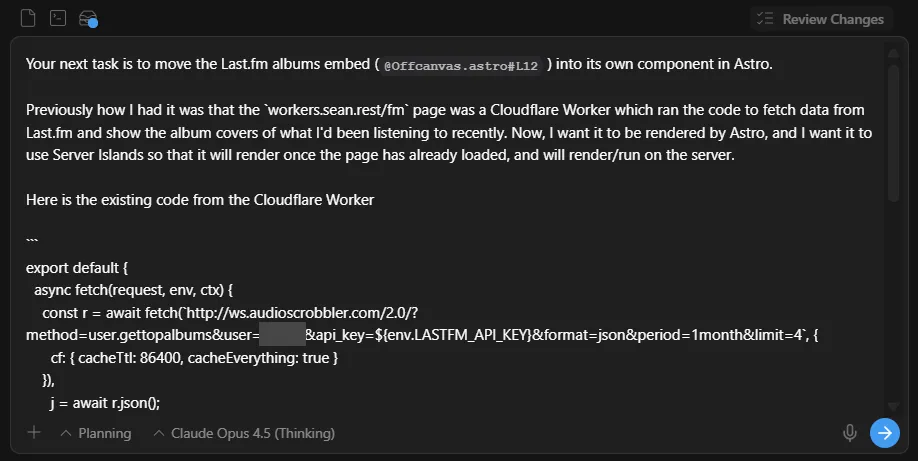
Last.fm top listened albums
Next up, the top listened albums - these were previously done with a Cloudflare Worker, but now this can be done with Astro’s Server Islands.
Server Islands allow us to render Astro components on the server (or in this case, the Cloudflare Worker that the site will already be running on). It’ll simplify the implementation by letting Astro handle both rendering and data fetching.
Here’s the prompt I gave it:
After a few minutes, it had:
- Moved the code into its own component and implemented it as a Server Island
- Added in the Node server output adapter (I later moved this to the Cloudflare adapter)
And it was fully working, first try. Not bad.
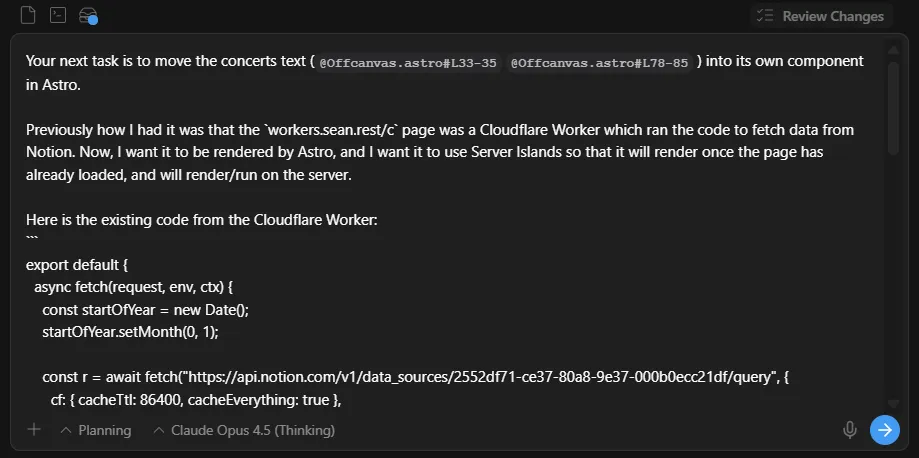
Concert counter
Finally, the concert counter - this will be similar to the top listened albums, except for the KV caching.
At first, I asked it to implement it without KV caching (since I hadn’t set up the Cloudflare adapter yet) - here’s the prompt I gave it:
Again, it moved the code into its own component and implemented it as a Server Island. It worked, but was slow without the KV caching, so I asked it to add it back in:

It did pretty much the same thing I did earlier (but caching the returned values instead of the response object), and again brought the request time down by a considerable amount for cached requests. And again, one less thing to maintain.
Okay, getting back on task now - let’s add in blogging
I don’t think I’ve ever actually had a blog on my site before, or at least not in recent years - but when I’ve implemented one on other sites in the past, I’ve always used some form of CMS, whether it’s a headless CMS (e.g. Sanity) or a more traditional CMS (like Webflow’s CMS or good old WordPress). But since I had moved away from Webflow already, and had already been writing this post in Notion, I didn’t really need an entire new editor (or the added complexity of a CMS system).
Instead, I opted for file-based routing, which would allow me to write in whatever editor I want, then export it as Markdown and have Astro render that Markdown to blog pages. I ended up opting for MDX - a superset of Markdown which allows you to add JSX components into your pages. While I don’t need the extra features of MDX right now, it could be nice to be able to use them in the future.
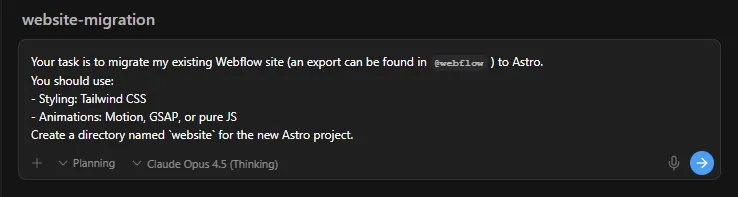
Again, I wanted to see how AI would do with this, so I asked it to add in a blog using MDX. Here’s the prompt:
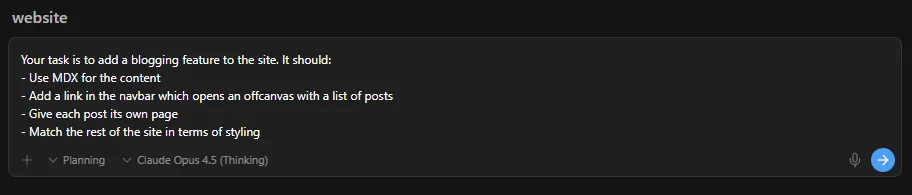
It created an implementation plan, which I then approved, and it started implementing. It was going good, working through any issues it encountered - until Antigravity’s browser agent opened up the dev server in a Chrome server to check its work. For whatever reason, Astro’s dev server was reloading the page every few seconds, which Antigravity’s browser agent both didn’t foresee and couldn’t comprehend. It was stuck in a loop of opening the blogs offcanvas, the page reloading while it was thinking about its next action, then trying to click the blog link that was now no longer on the screen. It tried a few different ways of clicking this blog link - clicking at certain coordinates or using a few different JS methods to find and click the link - but sadly, you can’t click a link that isn’t there, and it just didn’t realise that. Eventually, I had to stop the agent and tell it why it couldn’t click the link:
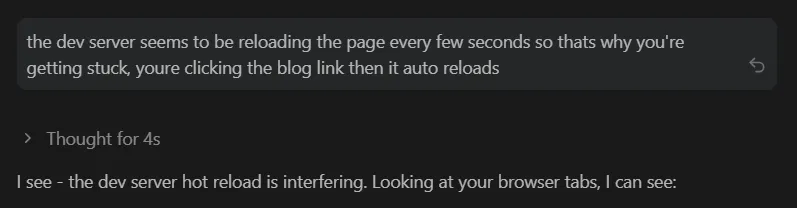
Now it was unstuck, it finished off the last little bit of work it had left and told me that the task was complete, though it didn’t actually check this like it had tried to do last time. Luckily though, it was actually implemented perfectly, apart from a few small visual tweaks I made manually.
I guess I don’t have to show you the blog, because you’re already looking at it. 🤷
Last thing - let’s do some SEO
The one thing that the AI had missed out, not once but twice, was SEO. The site had not a single meta tag, even though the original Webflow site had them, and it hadn’t caught this when implementing the blog either. Now, I don’t need anything crazy, but surely a light bit of SEO won’t hurt?
I gave the AI maybe the most simple prompt I could have given it:

It created an implementation plan where it identified the main issues, then asked me what my production URL was:
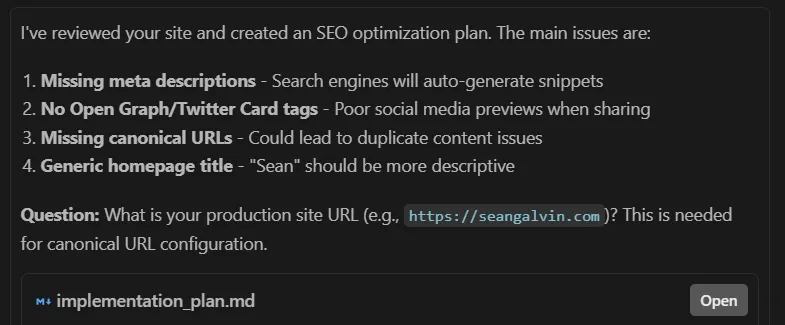
I answered it’s question and gave it a few comments (mainly around the copy it had suggested - it was a little generic, and maybe a little too enthusiastic for my liking), then set it off implementing. It went through and fixed the issues it had highlighted. It’s basic stuff, but enough optimization for my needs.
I then thought about potential optimizations for the blogging side of things - while the current optimizations were enough, they weren’t anything special. A trend I’ve seen happen in recent years is more sites (especially blogs) having programmatically generated OpenGraph images (the images that display when you link to a site on social media or in messaging apps) that display info about the page/post, and I wanted to add that into my blog. I researched a few options for generating these images, and landed on Satori, a JS library by Vercel which allows you to create your image using JSX, then render it to an SVG which can then be used as your OpenGraph image. I took a screenshot of the page with the content hidden, so I had an image of the shader background, then gave this prompt to the AI to see how it would do implementing this while keeping within the confines of Cloudflare Worker:
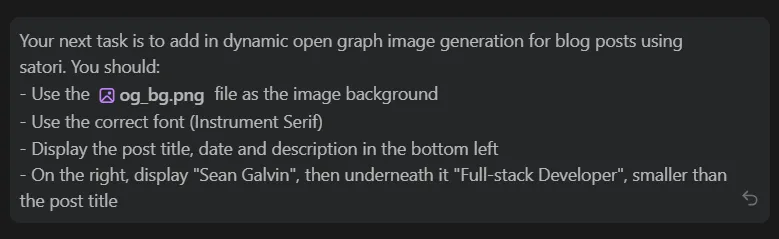
It gave an implementation plan, which I added a minor comment to. It took note of the small change I wanted, and started implementing. It started out by installing dependencies, then attempted to download the Instrument Serif font from Google Fonts a few times before it managed to do it correctly. It then added in the dynamic image route, where it encountered some type errors with resvg-js (the library it picked to render the SVG to a PNG). It tried a few times to diagnose the error, but for some reason couldn’t fully see the type errors. Eventually, it managed to see the errors, and realised that resvg-js was not compatible with Cloudflare Workers, so it switched to resvg-wasm.
Once it had done this, it was finished with implementation and went on to testing. It ran a build to generate the OG images, then looked at the image to see if it was correct.

Evidently, it was impressed with its work, though it wasn’t as perfect as it said. I asked it to make some small layout adjustments, then realised that the background image wasn’t being displayed correctly. It was being scaled to fit the image, rather than covering the image horizontally, which is what I needed. I asked the AI a few times to fix it, giving it ample detail to understand the issue, but it couldn’t figure it out (all while assuring me the issue was completely fixed and the images were perfect). I ended up tinkering around with the image styling and managing to fix it.
Once I was happy with the generated images, I asked it to replace my static OG image with a generated one so that the styling would be consistent between them:

It copied over the existing OG image, made the edits I asked it to and replaced the existing OG image with the new generated one.
Overall, I now had just enough SEO optimization (and a little bit of fanciness) for my needs. Nothing crazy, but better than what the AI was initially going to do - nothing at all.
Finally, it’s done!
Once it was finally all done, I pushed the site to a GitHub repo and deployed it to Cloudflare Workers. Most of the site is served as static assets, with the server islands being served dynamically by the Worker (albeit heavily cached).
Was it worth the time and effort I spent on it? Well, that’s for you to decide. But was it a good experience, with some good creative and technical choices? Absolutely.
Want to give me something to do that doesn’t involve spending too long working on this site?
Book a call or send me an email - I’d love to help.